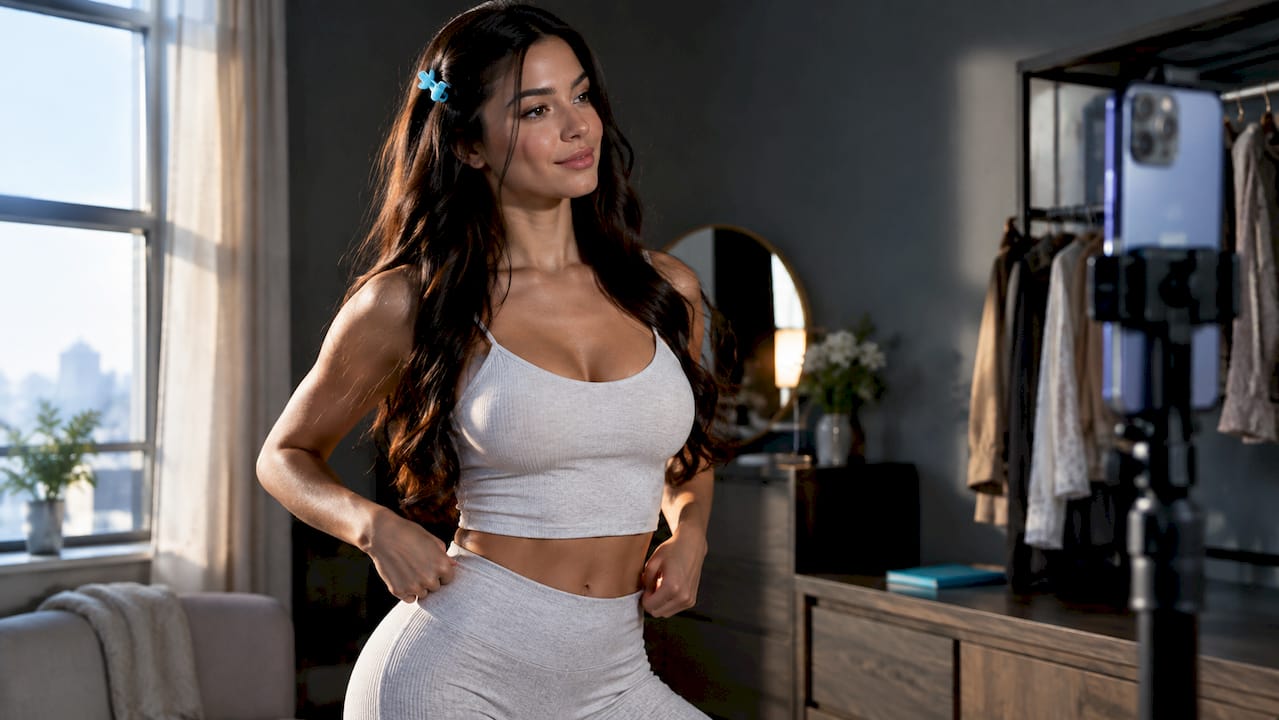
Create your OnlyFans account, switch on creator mode, submit ID and banking details, then publish 3 to 10 posts before you promote anywhere. That sequence is the entire OnlyFans setup, and most creators can finish it in a single weekend.
Here’s the realistic timeline: account creation takes five minutes. Identity verification, which OnlyFans and payment partners run through third-party KYC checks, typically clears in 24 to 72 hours. Payout setup takes another five minutes once you’re verified. Building 3 to 10 solid posts is where most people stall, and that’s the part worth doing right before you tell anyone your page exists.
Your top priority isn’t traffic. It’s having a profile and content library that converts the traffic you eventually send it. A page with zero posts and a blank bio wastes every follower who clicks through.
Pro Tip: Enable two-factor authentication the same day you verify your identity. New creator accounts are a known target for takeover attempts, and you don’t want to be rebuilding a hijacked profile during your launch week.
A converting OnlyFans setup requires verified identity, connected payouts, a completed profile, and 3 to 10 ready posts before any promotion begins.
| Point | Details |
|---|---|
| Verify before you promote | Identity verification typically takes 24 to 72 hours; submit ID early so payouts aren’t delayed. |
| Profile conversion comes first | Optimize your bio, avatar, and header before spending time on promotion, since warm traffic converts far better on a finished profile. |
| Build a small content library | Have 3 to 10 posts live showing your range before you send anyone a link. |
| Track every promotion channel | Use distinct tracking links so you know which channel actually produces paying subscribers. |
| Scale with support when ready | Once revenue and chat volume outpace your time, Only-dreams offers account management and 24/7 chat to help established creators grow without burnout. |
Print this or screenshot it. Nothing here should ship without every box checked.
Account basics
Verification and payout
Content readiness
Promotion plan
Pro Tip: Don’t check the “content readiness” box until you’ve looked at your own profile as a stranger would. If you wouldn’t subscribe based on what’s visible, a paying fan won’t either.
Signing up itself is the easy part. OnlyFans lets you register with an email address or through a connected Google or X account, and you must be at least 18 to create a profile. The real work starts once you’re in.
A few practical habits pay off here. Use a password manager to generate a unique password for your creator account rather than reusing one from another platform. Keep your creator email completely separate from your personal inbox, both for privacy and so support tickets don’t get buried under unrelated mail.
Pro Tip: Draft your bio in a separate notes document first. Writing it directly in the small OnlyFans text box tends to produce short, generic copy because you can’t see the full picture while typing.
Identity verification is the step that actually gates your ability to earn, and it’s where most delays happen. OnlyFans requires every creator to confirm who they are before payouts activate, matching the standard KYC and payout requirements most payment processors demand of any platform handling creator income.
What you’ll need to submit:
What makes a verification selfie get approved:
Turnaround normally runs 24 to 72 hours, though weekends and high submission volume can stretch that slightly. Until verification clears, you can typically explore the dashboard and prep content, but payout and full publishing features stay restricted.
If your verification gets rejected or stalls, work through this list before resubmitting:
Your ID itself is never displayed on your public profile.
Pro Tip: Take your verification selfie against a plain wall, not a busy background. Reviewers move faster through clean, unambiguous submissions, and a cluttered background is one of the more common reasons a first attempt gets kicked back for a retake.
Your payout details live in your account settings, usually under a Banking or Payments tab, and the name attached to that account must match the identity you verified. A mismatch here is one of the fastest ways to get a payout held for manual review.
Once verified, payouts typically run on a regular cycle, though exact timing depends on your payout method and region. What matters more for your setup is understanding the platform’s commission structure, which takes a percentage of your earnings. Build that into your pricing from day one rather than discovering it after your first payout lands lower than expected.
Startup costs to budget for, beyond the platform itself:
None of this needs to be expensive at launch. A phone, a window for natural light, and a free editing app cover most first-month content needs.
One tax note: income from OnlyFans counts as earned income, and you’re responsible for tracking and reporting it. Keep basic records of what you earn and what you spend on equipment or promotion, and talk to a tax professional in your jurisdiction about how self-employment income should be filed.
Pro Tip: Screenshot every payout confirmation the first three months. It’s a small habit that saves you a scramble later if you need to reconcile income for tax filing or a payout dispute.
A profile that converts follows a simple bio formula: niche + content types + posting frequency + call to action, all inside the character limit OnlyFans gives you. Something like: “Fitness content creator. Daily photos, weekly videos, and DMs open. Subscribe now for exclusive workouts and behind-the-scenes content.”
That structure works because it answers the three questions every visitor silently asks before subscribing: what am I getting, how often, and why now. Skip any of the three and conversion drops.
Your avatar and header carry more weight than the bio itself. A blurry, dark, or clearly recycled stock-style photo signals low effort, and low effort reads as low content quality even if your actual posts are strong. Shoot both in good light, keep the composition simple, and make sure your header image complements rather than competes with your avatar for attention.

Link strategy matters too. If you’re running a link-in-bio tool or a personal website, use distinct tracking links for each promotional channel. That’s the same tracking-link discipline that separates creators who know exactly which channel drives subscribers from those guessing at the end of the month.
A pinned welcome post is worth setting up on day one. Something short that restates your niche, previews what a subscription includes, and gives new visitors a reason to message you directly. Pairing that with a templated welcome DM turns a passive subscriber into an engaged one before they’ve even finished scrolling your page.
Short bio template to adapt: “[Niche] creator sharing [content type] [frequency]. New subscribers get [specific perk]. DMs always open.”
Pro Tip: Rewrite your bio every 30 days for your first three months. Small language tweaks based on what fans actually respond to in chat will outperform a bio you set once and forget.
Your first 3 to 10 posts exist to show range, not to be your best work ever produced. Fans subscribing early are betting on a preview of what’s coming, so mix a few photo sets, one short video, and maybe a free teaser post that hints at paid content without giving it away.
A simple 30-day starter schedule looks like this:
Batching saves you the most time here. Shoot a full set of content in one session, then space the posting out over two or three weeks rather than uploading everything at once. One afternoon of shooting can realistically fill 8 to 10 posts if you plan outfits, angles, and settings ahead of time.
Repurposing stretches that further. A single 10-minute video can usually become 5 to 10 shorter clips for stories, previews, or promotional posts on other platforms, cutting your content workload roughly in half.
Before uploading anything, strip location metadata from your files and add a subtle watermark, especially on free preview content that’s more likely to get screenshotted and shared without permission.
Pro Tip: Shoot in batches of outfits or settings, not by content type. Three outfit changes in one session gives you material for three separate weeks, which is far more efficient than trying to shoot “this week’s content” fresh every few days.
Security and anonymity decisions you make in week one are far easier than fixing a breach or an identity leak months in. Start with the basics: two-factor authentication on your OnlyFans account and email, plus a unique password generated by a password manager rather than reused from another login.
If staying anonymous matters to you, a few practical options help:
Content protection matters as much as identity protection. Watermark your paid content so leaked screenshots trace back to you. Consider geoblocking your profile in your home region or town if local recognition is a concern, and always strip metadata before uploading, since photo files can quietly embed the exact location where they were taken.
Managing subscriber interactions is its own safety skill. Block or report abusive messages immediately rather than engaging, and set clear boundaries early in a fan relationship about what kind of requests you will and won’t fulfill. Most fans respect a polite, firm boundary. The ones who don’t are exactly who blocking exists for.
Pro Tip: Do a metadata check on your camera app settings once, at setup, rather than remembering to strip it manually every time. Most phones let you disable location tagging for photos entirely in one settings change.
Start with one or two channels, not five. Spreading thin across every platform at once means you never generate enough volume anywhere to learn what’s working, and new creators typically get the fastest traction from Reddit paired with one primary social platform, then layering in TikTok or X once the first channel is producing consistent traffic.
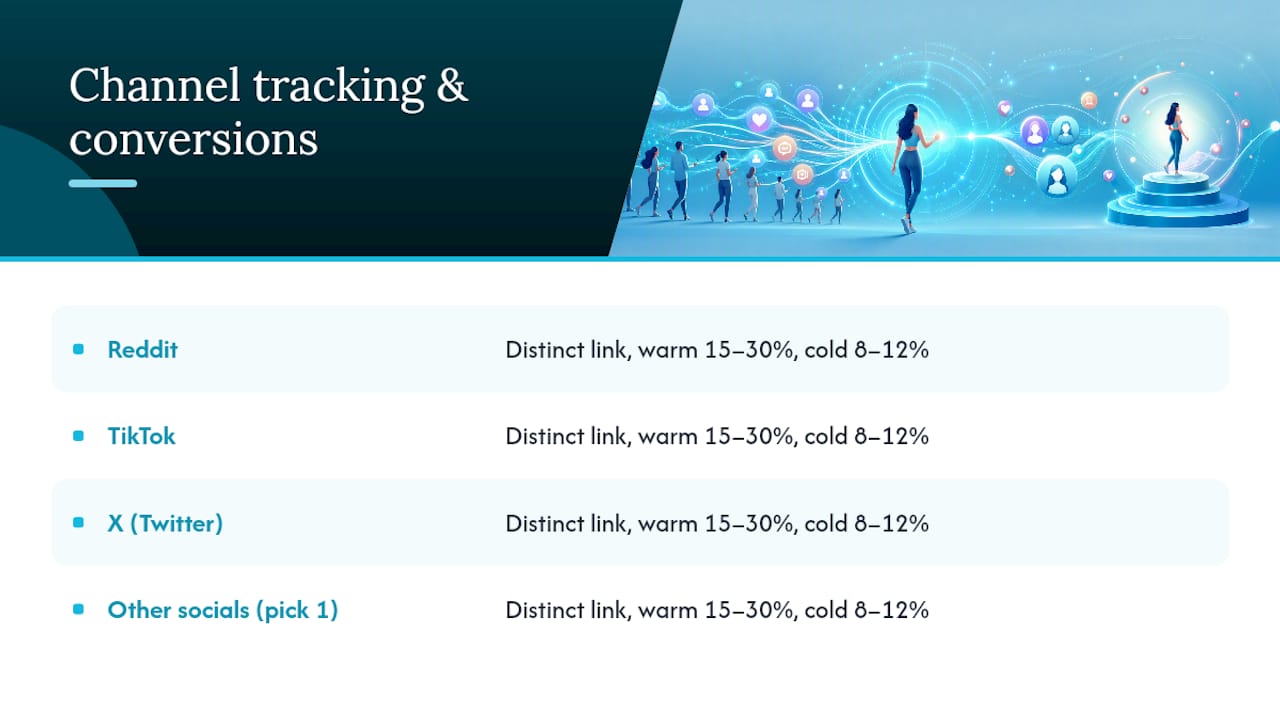
Here’s the number that should guide every promotion decision you make: an optimized profile converts warm traffic (fans who already follow you elsewhere) at roughly 15 to 30%, while cold paid traffic converts at a lower 8 to 12%. If your profile isn’t converting warm traffic near that range, fixing the profile matters more than adding a new promotional channel.
Measure before you scale. Use a distinct tracking link for every channel you promote on, and log clicks against subscriber conversions in a simple spreadsheet. That’s the same traffic-to-revenue framework that separates creators guessing at what works from creators who can point to a number.
Cross-promotion and community engagement scale without paid ad spend. Engaging genuinely in niche communities, collaborating with creators in adjacent (not competing) niches, and consistently showing up in the same spaces build compounding recognition that a one-off ad never will.
Pro Tip: Give each new channel a genuine 30 days before judging it. Most promotion efforts look unimpressive in week one simply because the algorithm or community hasn’t had time to learn your content yet.
Most new creators price their subscription somewhere in a modest, accessible range, often ending in a $.99 or similar psychological price point that reads as more affordable than a round number even at the same effective cost. Starting low and raising the price later as your content library and reputation grow tends to outperform launching high and hoping for the best.
Subscriptions are only one lever. Pay-per-view messages, tips, content bundles, and custom requests typically make up a meaningful share of total revenue once a creator has an engaged base, often exceeding subscription income for creators who actively message their subscribers.
A simple monetization mix for a new creator might look like:
If you’re considering a price change, test it carefully. Raise your price for new subscribers only at first, and track first-month revenue and retention closely before applying it to existing fans. A structured approach to raising your subscription price without losing your current base usually beats an abrupt, unannounced jump.
Pro Tip: Never change price and content strategy in the same week. If revenue shifts, you want to know whether it was the price or the content, not guess at which one moved the number.
Verification delayed or rejected? Re-check that your ID photo shows all four corners, the name matches your creator form exactly, and lighting doesn’t wash out any printed text. Resubmit once, and only after your current review has fully closed out.
Payout failing to process? Confirm your bank details are formatted exactly as your bank provides them, that the account name matches your verified identity, and that your payout method is actually supported in your region.
Posts won’t publish? Check the file format and size against platform limits, and confirm your account isn’t under a temporary restriction, which sometimes follows right after initial verification while systems finish syncing.
When you contact support, include specifics: your account email, the exact error message, and the date and time you encountered it. Vague tickets get vague, slower responses.
A handful of built-in features do most of the heavy lifting once your OnlyFans setup is live.
Most creators should run their own setup for the first several months. Outsourcing makes sense once you’re earning consistently and chat volume or content demands start eating hours you’d rather spend creating.
Signs you’ve hit that point: subscribers messaging faster than you can respond, revenue plateauing despite more effort, or promotion falling behind because you’re buried in DMs. The trade-off is real. You give up either a flat fee or a share of revenue in exchange for time and, often, faster growth than you’d manage solo.
Whatever partner you consider, insist on clear reporting, defined content ownership, and contract terms you actually understand before signing. Vague reporting or murky control over your content and account access are the clearest red flags worth walking away from.
If you’ve built your OnlyFans setup, you’re seeing steady subscriber growth, and chat is starting to eat every free hour you have, that’s exactly the point where Only-dreams becomes useful rather than optional. The core advantage is simple: instead of you personally answering every late-night DM, a trained chat team builds those fan relationships around the clock while you focus on shooting content.
Only-dreams handles account management, 24/7 chat, content strategy, and data-driven promotion across Instagram, TikTok, and other channels, built specifically for creators who already have traction and want to scale without burning out. Pricing runs on either a retainer or a revenue-share model, and any agency worth working with should walk you through exactly what deliverables and reporting you’ll get before you sign anything. If your OnlyFans setup is live and earning, reach out and share your current subscriber count and monthly revenue so the conversation starts with real numbers instead of guesswork.